Product
Paya Connect UI
Paya Connect API
Description
Paya Connect (PCON) can support the import of contacts into the system. This feature does require a Merchant to work with our Customer Enablement or Customer Support Teams to complete when using the bulk upload feature. We will also discuss a method using our APIs but this might not be a feature that all Merchants want to attempt as it is a more advanced method.
Resolution
Paya Connect UI Method
- The Merchant will need to create a CSV file with a list of their customer information with headers. These headers will define the data that will be normalized to the Paya Connect contact fields. The Paya Connect contact fields that can be imported are as follows.
- First Name
- Last Name (Required)
- Account Number (this is a Merchant generated number)
- Email (Required)
- Company Name
- Address
- City
- State
- Zip
- Home Phone
- Office Phone
- Office Ext Phone
- Cell Phone
- Contact Balance
- Contact API ID (this is a Third-Party Solution that is a generated API ID that might come from another solution such as an ERP) (Required)
- Once the CSV file is generated, the Merchant will need to contact a Customer Enablement or Support Rep to arrange a time for the import to be completed.
Additional steps will be outlined for Internal Users only
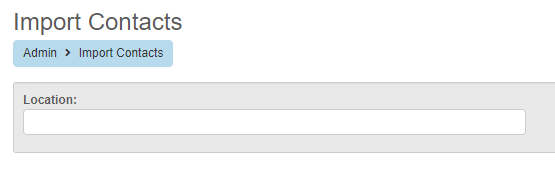
- Type in the 'Location' name for the merchants' location that they want the contacts imported to (this will auto-suggest locations as you type).
- Click 'Browse' to select the file provided by the Merchant, please note that drag and drop does not work here:

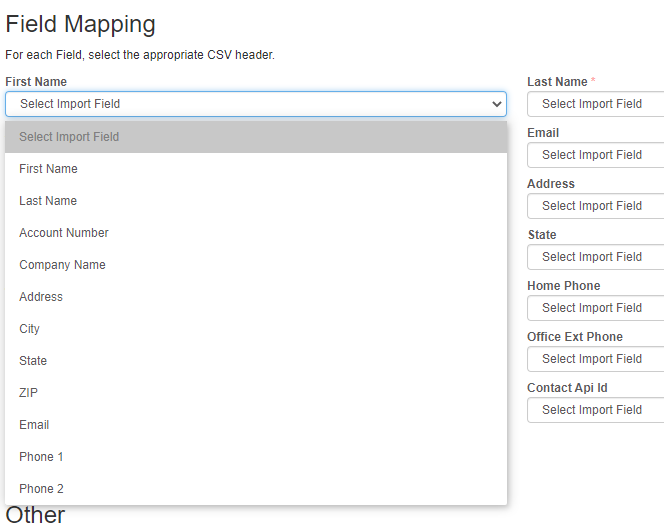
- Once you have selected the file to be uploaded, a new menu will appear that will allow you to map the fields to the .CSV header:
- Then, select the other options for when a contact already exists (if an entry does not have a contact API ID, Paya Connect will never update the contact).
- Yes, will only update a contact if the Merchant is using the contact API ID.
- No, will attempt to create a new contact for each entry.
- Once all fields are updated and you are ready to import the contacts, click import contacts.
- Results can be exported and sent to the merchant after completed:

- Failures and successes will appear in the results as follows:

Please note that this import method does not support making contact with users for the customer portal at this time.
Below is a sample that may be used to create the contact file.
Postman Method for Contacts
This method of import will require API and developer keys. This must be completed by Paya Support Teams unless you are a developer with an approved account. At that point, it is recommended that this be completed with the guidance of the SDK Team; if you are unsure how to use the run command features in Postman.
Additional steps will be outlined for internal users only
Below is a sample that may be used to create the contact users in Paya Connect for the Customer Portal. Please note, if any of the fields are not supplied the solution will not work.
Contact User Import Sample.csv
