Product
Acumatica ERP
Paya Connect
Description
This guide walks through the steps to enable a customer to access the client’s Acumatica Customer Portal to make online payments, review their account, and view payment history.
Resolution
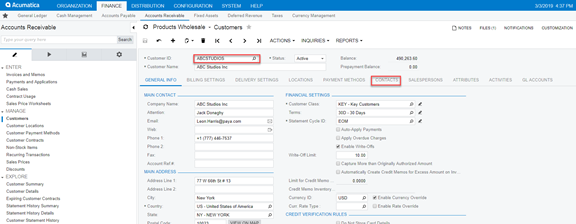
- Navigate to the Finance menu.
- Click on Accounts Receivables.
- Click the drop-down triangle next to Manage in the sidebar menu on the left side of the page.
- Select Customer from the sidebar menu on the left side of the page.
- Select the Customer ID.
- Click the Contacts tab.
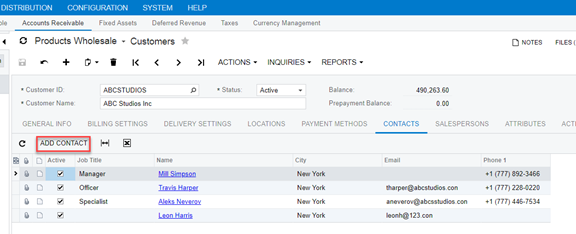
- Click the Add Contact button.
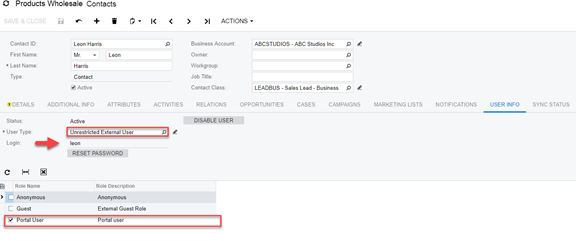
- Enter the email address and click the User info tab.
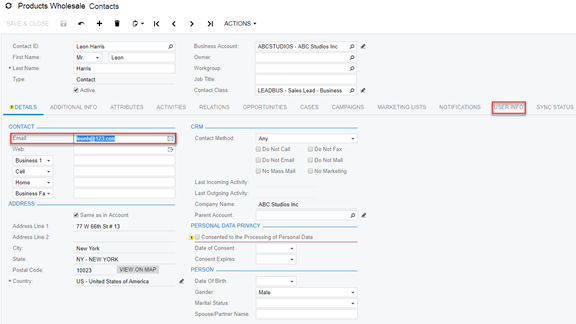
- Select Unrestricted External User from the User Type field.
- Check the box for Portal User
11. Select the Paya Payments Methods tab
12. Add the desired Payment Method ID(s)
13. Click the save button
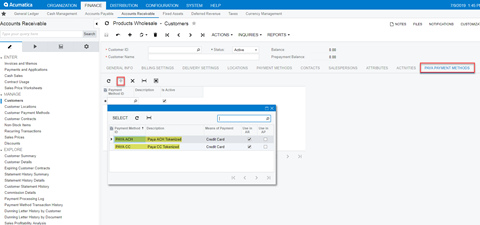
When you log in, the customer can now sign into the Acumatica Customer Portal